

The Timesheets application enables users to review their historical timesheets. Users can also enter a new Time entry.
Viewing Your Timesheets
To view your timesheets:
- From the My Self Service menu bar item, click the Timesheets link.
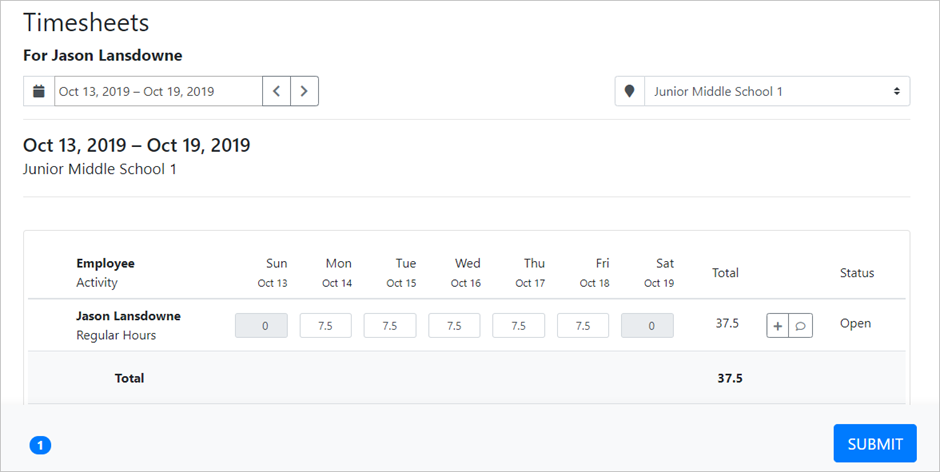
The Timesheets page opens, displaying a list of time sheets for the specified period. The details of the specific timesheet display a combination of data by position and date.
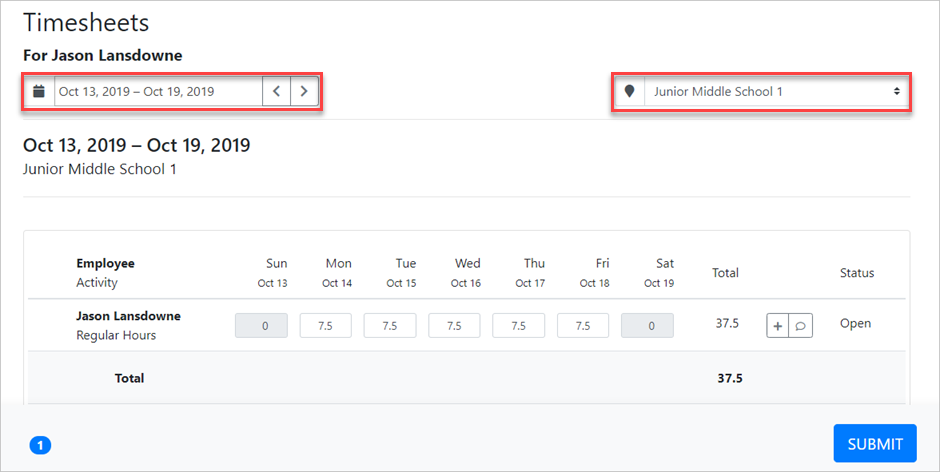
- To view a timesheet for a different time period or time entry unit, select the period (top left) or unit (top right) from the appropriate fields.
Completing Timesheets
To enter time in a timesheet:
- From the My Self Service menu bar item, click the Timesheets link.
The Timesheets page opens, displaying a list of time sheets for the specified period. - Select the time entry period for which you want to enter time by clicking the arrows in the top left.
- If you are assigned to more than one time entry unit, select the unit from the drop-down list box on the top right.
A timesheet displays with a default set of hours pre-entered, which is based on your HR Base Calendar. - For each day in the time entry period, either leave the default time as-is, or enter the amount of time worked.
- To add a new line to the timesheet, click the Plus icon and add any time as needed to the new line.
- To leave a comment for the time entry approver:
- Click the Comment button.
The Add/Edit Comment dialog displays.
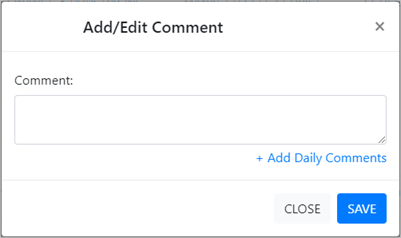
- To leave a comment that applies to the entire week, type it in the Comment field and then click Save.
- To leave a comment that only applies to a particular day, click + Add Daily Comments. Type the comment in the appropriate day field, and then click Save.
- Click the Comment button.
- To submit the time for approval, click Submit.
The Time Entry status changes from Open to Pending Approval.