

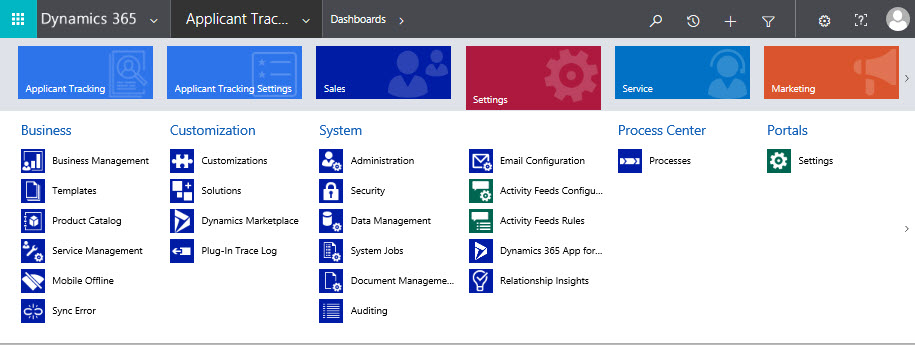
Configuring Dynamics CRM
Workflow ownership
To ensure proper function of the system, it is recommended that you set up a service account with System Administrator security role. When this account is set up, perform the following steps to assign the workflows to this account.
- Go to Settings -> Processes
- Change the view to All Processes, and select all processes beginning with AT.
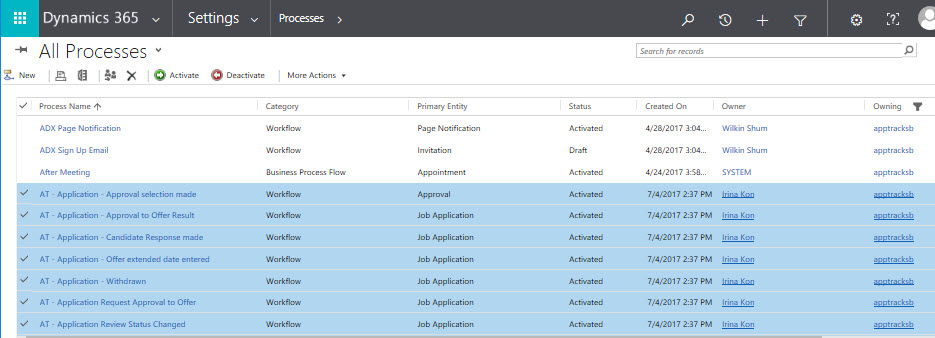
- Click the Assign icon at the top.
- Select the service user.
- Select all the AT workflows and click Activate.
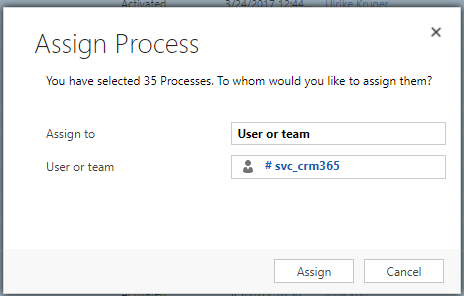
- Click Assign.
Applicant Tracking comes with a list of standardized email workflows that should be customized to your organization. If some workflows are not required by your organization, they should be deactivated.
The email workflows can be found by navigating to Settings->Processes. All email workflows that should be configured are named starting with AT – Email…
To configure:
- Double click the workflow you would like to configure.
- Deactivate the workflow.
- On any of the Create New Message steps, click Set Properties.
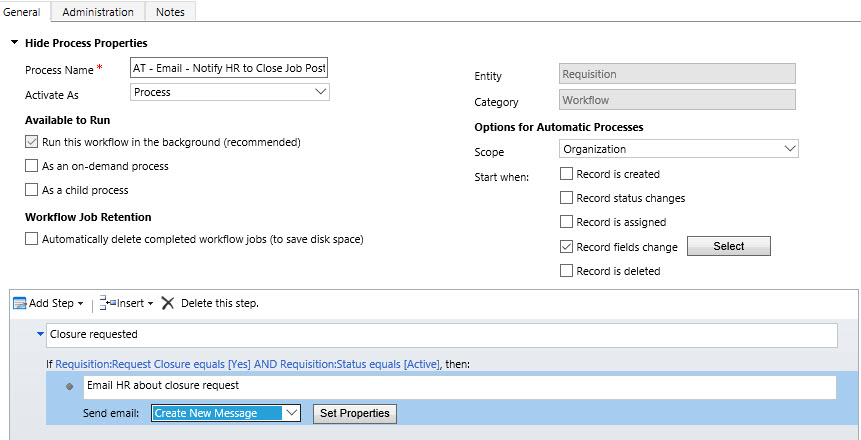
- Modify the email template as needed by setting the appropriate senders and receivers, subject and content.
- When done, click Save and Close.
- Click Activate to enable the workflow.
- Test your changes to ensure that they are what you expect.
Auto numbering
Auto numbering in the system is done through custom code. You can configure it on Applicant Tracking entities via the Sequence Rule record.
To set up auto-numbering:
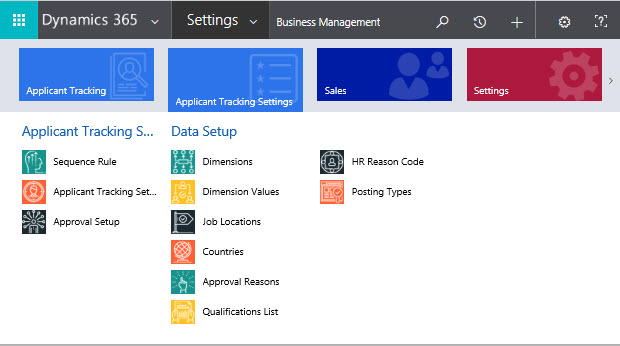
- Go to Applicant Tracking Settings and click on Sequence Rule.
The table below provides the entities supported for auto-numbering with their Target Entity name and auto number field.
| Record | Target Entity | Autonumber Field |
| Contact | contact | at_applicantnumber |
| Requisition | at_requisition | at_requisitionnumber |
| Job Position | at_position | at_positionnumber |
| Job Posting | at_jobposting | at_jobpostingnumber |
| Job Opening | at_jobopening | at_jobopeningnumber |
| Job Interview | at_jobinterview | at_jobinterviewnumber |
| Job Application | at_jobapplication | at_jobapplicationnumber |
| Applicant Profile | at_applicantprofile | at_applicantprofilenumber |
Configuring an entity for auto-numbering
To configure an entity for auto-numbering, follow these steps:
-
Click on New to create a new Sequence rule.
- On the sequence rule, enter the target entity, the auto-number field (found from the table above), the starting position under the current position field, the display format (as shown below) and set the scope to Organization.
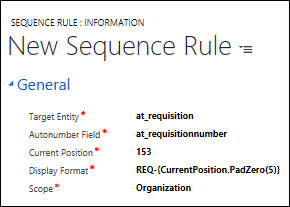
- The 5 in the Display Format field represents the number of digits the format should have. For example, a current position of 147 will translate to REQ-00147 on the record.
- After entering the information, click Save and Close.
- A record needs to be created for each target entity in order to have auto-numbering.
Currency
A currency setting is required so that salaries can be properly recorded on the Job Application records.
To set this currency (in additional to default currency settings in Dynamics CRM), perform the following steps:
- Navigate to applicant tracking settings by clicking on Applicant Tracking Settings->Applicant Tracking Settings in the web application navigation bar.
- Click New to add a new setting.
- Enter Currency under the setting name.
Note: Currency is case sensitive. - For the setting value, type the exact name of the base currency of your CRM configuration.
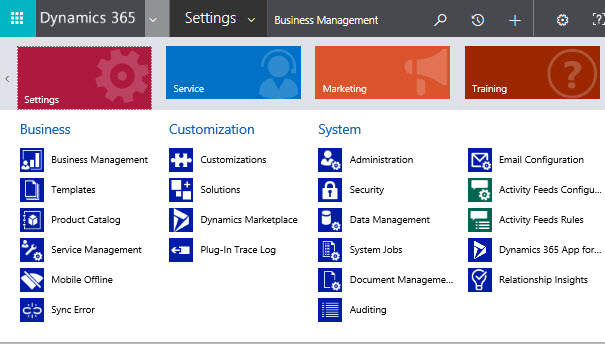
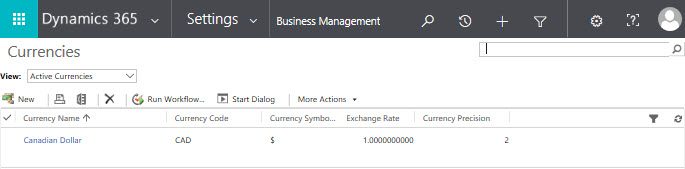
- To find the name of your base currency, go to Settings->Business Management.
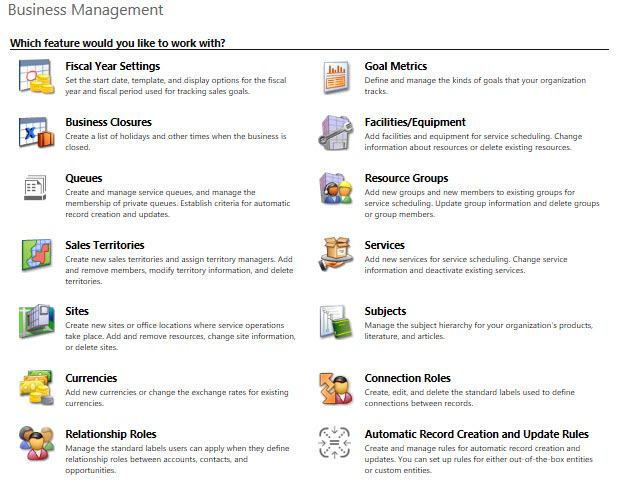
- Click on Currencies:
- Use the name as it appears under currency name.
NOTE: If you have multiple currencies configured, then you will need to select the single currency that you wish to use on the Job Applications.
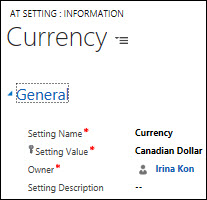
The following image displays how the completed setting should look:
- Click Save and Close.
Adding customizations
It is advisable that any configurations/customizations to the product other than data be contained in a Dynamics CRM solution.
Note: The above applies to customizations above and beyond what is described in this topic.
To customize above and beyond what is documented in this article:
- Go to Settings->Solutions.
- Click on New.
- All changes to workflows, etc. should be added to the solution.
- All changes to portal web pages and any portal data within CRM should be documented carefully as you may need manually repeat them during future upgrades of the product.